A hailstorm doesn’t knock politely. It shows up fast, hits hard, and leaves before you even process what happened. The sky clears, everything looks calm again… but your roof, siding, and windows may tell a very different story especially for homeowners in San Antonio, where hailstorms can cause sudden and widespread property damage.
I’ve seen it too many times. Homeowners take a quick glance outside, assume things are fine, and move on. Weeks later? A leak. Months later? A denied claim. The difference almost always comes down to one thing: how well the damage was documented from the start.
If you’re searching for how to document hail damage for an insurance claim, you’re already ahead of most people. This isn’t just about taking pictures. It’s about building evidence clear, organized, and impossible to ignore.
Let’s break it down.
Why Proper Hail Damage Documentation Is Critical
Insurance companies don’t operate on trust. They operate on documentation. You might know your roof was hit. You might have heard the hail pounding down. But none of that matters if you can’t prove it clearly.
Here’s what strong documentation does:
- Confirms the presence of damage
- Demonstrates severity and spread
- Connects the damage directly to a specific storm event
And here’s what weak documentation does:
- Creates doubt
- Opens the door for partial payments
- Increases the risk of denial
Think of your claim like a case. The more evidence you present, the stronger your position becomes. In fact, the way claims are evaluated often mirrors structured reasoning methods like Bayesian inference where outcomes depend heavily on the quality of evidence provided. That’s why understanding how to document hail damage for an insurance claim is one of the most valuable things you can do as a homeowner.
What Counts as Hail Damage? (Know What to Look For)
Not all hail damage looks dramatic. Some of it is subtle. Easy to miss. But still serious. Let’s break it down.
Roof Damage Indicators
Your roof takes the biggest hit during a hailstorm.
Look for:
- Circular or random impact marks
- Granule loss that exposes darker layers
- Soft spots that feel bruised
- Cracks or splits in shingles
Even small hail can cause long-term deterioration.
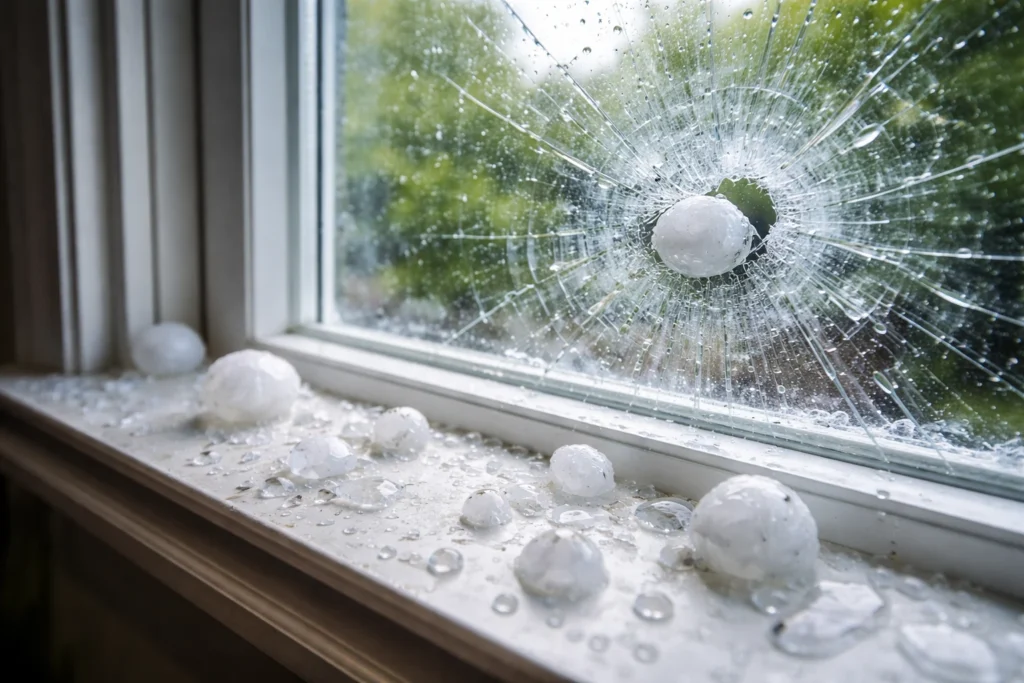
Exterior Property Damage
Damage isn’t limited to your roof.
Check:
- Gutters and downspouts for dents
- Metal vents and flashing
- Siding for cracks or chips
- Window screens and frames
These areas often provide some of the clearest visual proof.
Hidden or Secondary Damage
This is where things get tricky.
Watch for:
- Ceiling stains or discoloration
- Moisture in the attic
- Insulation issues
- Slow leaks that worsen over time
In areas like San Antonio, where storms can vary in intensity across neighborhoods, documenting every detail becomes even more important to support your claim.
Tools You Need to Properly Document Hail Damage
You don’t need expensive equipment. But you do need to be prepared.
Here’s a simple setup:
| Tool | Purpose |
| Smartphone or camera | Capture clear photos and videos |
| Chalk or marker | Highlight impact points |
| Measuring tape | Show scale of damage |
| Ladder (if safe) | Access elevated areas |
| Notebook or app | Record observations |
Optional but helpful:
- Flashlight for attic inspections
- Gloves for safety
- Drone (if you have access)
The goal is simple: capture everything clearly and completely.
Step-by-Step: How to Document Hail Damage for an Insurance Claim
This is where the real work happens. And where most people fall short. Follow these steps carefully.
Step 1 – Inspect Safely First
Before you grab your camera, pause.
Safety comes first.
- Avoid climbing on wet or steep roofs
- Check for loose debris or hazards
- Use binoculars or zoom if needed
- Don’t take unnecessary risks
If something feels unsafe, skip it or call a professional.
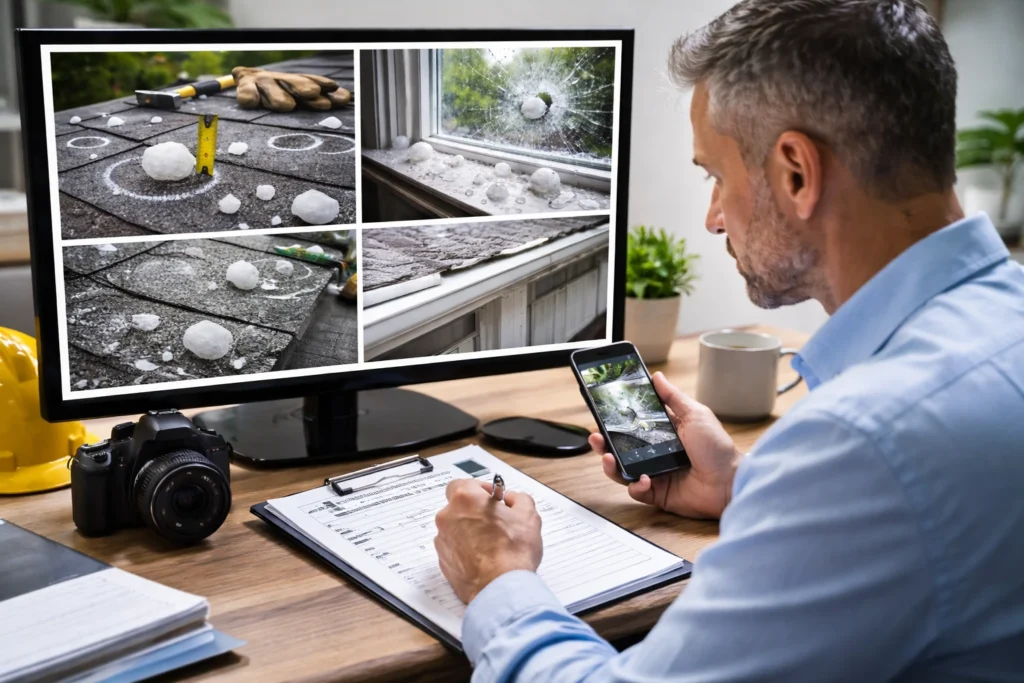
Step 2 – Take Clear, High-Quality Photos
Photos are the foundation of your claim.
You need:
- Wide shots of your entire roof and property
- Mid-range shots showing clusters of damage
- Close-ups of individual impact points
Make sure:
- Images are sharp and well-lit
- Multiple angles are captured
- Key areas are not missed
Take more photos than you think you need. Seriously. This step alone can make or break your understanding of how to document hail damage for an insurance claim.
Step 3 – Record Video Evidence
Photos are powerful. Video adds context.
Walk around your property and record:
- Roof lines
- Gutters and siding
- Windows and exterior surfaces
Narrate what you’re seeing:
- “This section shows multiple impact marks…”
- “Here’s a dent in the gutter…”
Keep it natural. No need to overthink it.
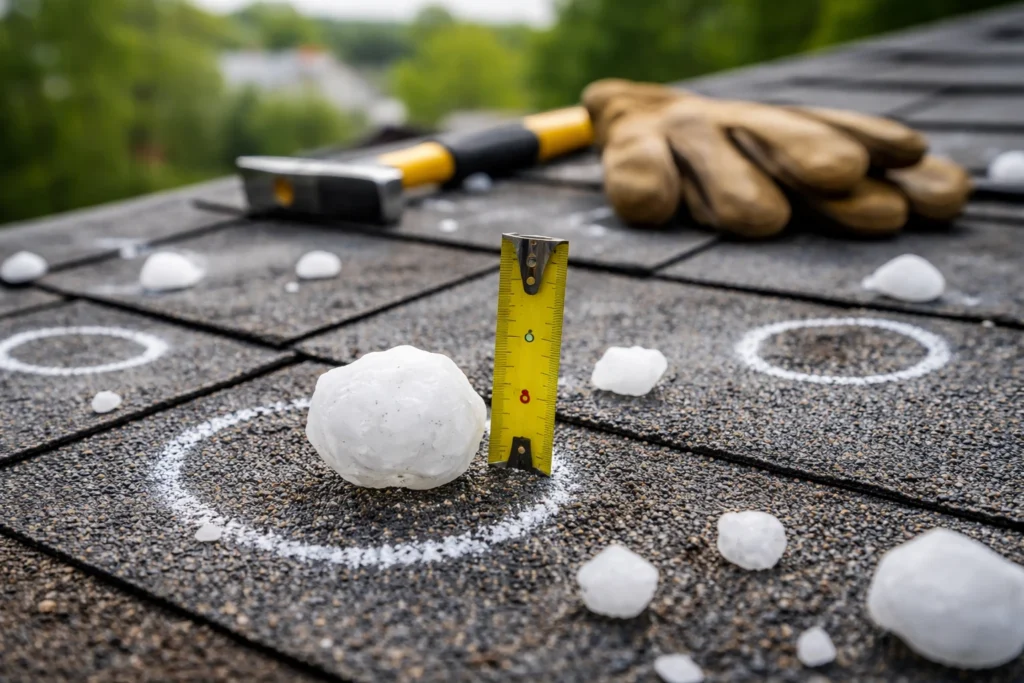
Step 4 – Mark and Measure Damage
Now you’re strengthening your proof.
- Circle damage spots with chalk
- Place a measuring tape next to impacts
- Show the size of hail stones if possible
This removes guesswork. It shows precision.
And that’s exactly what adjusters look for.
Step 5 – Document Date, Time, and Storm Details
This step is often overlooked but critical.
Write down:
- Date of the storm
- Time (approximate is fine)
- Weather conditions
Then back it up with:
- Weather reports
- Storm tracking apps
- Local alerts or news
This creates a clear timeline connecting the damage to the event.
Step 6 – Create a Damage Inventory List
Now organize everything into a clean summary.
Example:
| Area | Damage | Severity |
| Roof (west side) | Granule loss | Moderate |
| Gutters | Dents | Light |
| Windows | Cracked glass | Severe |
This makes your claim easier to review and harder to dispute.
How to Organize Your Evidence for Maximum Claim Success
Documentation is only useful if it’s organized.
Here’s a system that works:
Folder Structure
- Roof damage
- Exterior damage
- Interior damage
- Videos
- Notes
Best Practices
- Use clear file names
- Store backups in the cloud
- Keep original files untouched
Organization speeds up your claim. It also makes you look credible and prepared.
Common Mistakes That Can Hurt Your Claim
Even solid damage can lead to weak outcomes if you make mistakes.
Avoid these:
- Blurry or low-quality photos
- Missing key areas like vents or flashing
- Delaying documentation
- Failing to record storm details
- Mixing old damage with new
One mistake might not ruin your claim. But multiple mistakes? That’s where problems begin.
Understanding What Insurance Adjusters Look For
Adjusters are trained to evaluate claims carefully.
They look for:
- Consistent evidence across photos and notes
- Clear signs of storm-related damage
- Measurable impact areas
- Distinction between wear and sudden damage
If your documentation is weak, they may miss things. Not intentionally. Just because the evidence isn’t clear. That’s why knowing how to document hail damage for an insurance claim gives you an edge.
When to Call a Public Adjuster
Sometimes, documentation alone isn’t enough.
You may need help if:
- The damage is extensive
- The claim value is high
- The insurance offer feels low
- Your claim is denied
A public adjuster represents you not the insurance company.
They can:
- Review your documentation
- Identify missed damage
- Negotiate for a better payout
In complex cases, that expertise can make a major difference.
How Documentation Impacts Claim Payouts
Let’s talk results.
Good documentation often leads to:
- Higher repair estimates
- Faster approvals
- Fewer disputes
Poor documentation leads to:
- Missed damage
- Lower payouts
- Denials
Two homeowners. Same storm. Different outcomes. The difference? Documentation. This is especially true when you start digging deeper into topics like Hail Damage Roof Insurance Claim: How to Protect Your Roof, where proper documentation becomes the foundation for protecting both your property and your financial outcome.
Advanced Documentation Strategies Most Homeowners Miss
Want to go beyond the basics? Here’s where things get interesting.
Use Before-and-After Comparisons
If you have older photos of your home, use them.
They help show:
- What the property looked like before
- What changed after the storm
Document Surrounding Properties
Take photos of:
- Neighboring roofs
- Nearby damage
This strengthens your case by showing the storm’s impact across the area.
Track All Communication
Keep records of:
- Emails
- Phone calls
- Inspection dates
This protects you if disputes arise later.
Pro Tips to Strengthen Your Hail Damage Claim
Here are some practical tips that make a real difference:
- Document immediately after the storm
- Take photos before making repairs
- Save all receipts
- Get multiple opinions if needed
- Stay organized from day one
Small steps. Big impact.
Conclusion
Hail damage isn’t always obvious. But the financial impact can be. If there’s one takeaway, it’s this: documentation is everything. Learning how to document hail damage for an insurance claim puts you in control. It helps you avoid missed damage, low payouts, and unnecessary stress.
Act fast. Stay organized. Be thorough. And if you’re dealing with storm damage in San Antonio, strong documentation can be the difference between a smooth claim and a frustrating denial. Because once the storm passes, the real work begins.
FAQs
Take clear photos, videos, measurements, and notes immediately after the storm to create strong, organized evidence.
As soon as it’s safe waiting too long can weaken your claim and make damage harder to prove.
You can, but your chances of full approval drop significantly without visual proof.
Capture wide shots, mid-range views, and close-ups of impact points from multiple angles.
Not always, but complex or large claims benefit from professional inspections or a public adjuster.
Use zoom photography from the ground or hire a professional to inspect and document the damage.
Combine your photos with timestamps, weather reports, and storm data to establish a clear connection.
Only temporary repairs to prevent further damage document everything before making changes.
Avoid blurry photos, missing areas, delayed documentation, and failing to record storm details.
You can appeal the decision, provide additional evidence, or work with a public adjuster to reopen the claim.